3D LOGO Illustrator tutorial

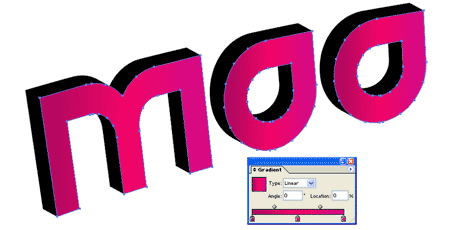
3D Logo is a Three-dimensional gradient Logo. CS2 illustrator tutorial could show you how to make a 3D Logo at ease. This technique is employed in the creation of 3D icons and 3D Graphic objects.
1. Type the text for which 3D effect to be given with the help of a Type tool (eg-“3D LOGO”). Then, click on to Effect >Warp > Arc for apply the settings as follows:

2. For 3D Extrude & Bevel again click on Effect > 3D > Extrude & Bevel then continue with the settings as in the picture below. Rotation values for X, Y, Z-axis can be given by dragging around the cube. You can put Extrude Depth value as 20pt.

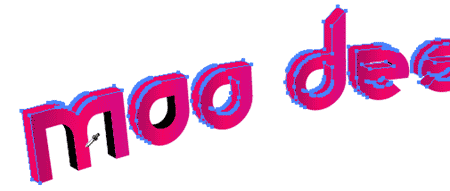
3. For expanding the appearance click on to Object then on to Expand Appearance this will remove all the effects and convert them to paths. If done, start ungrouping the object either by clicking on to Object>Ungroup or by pressing CTRL+SHIFT+G. for breaking the object apart you need to perform Ungroup function 4-to5 times minimum.

4. Next is merge paths procedure. Pathfinder tool has to be selected then select the round corner paths and merge. Click on to Add to shape area by holding the alt key continuously for merging the selected paths. This process has to be repeated till all the round corners get cleaned up.

5. Next function you need to perform is applying gradient to your Logo. For this top-level paths have to be selected then apply a colour gradient in it (here we apply yellow colour).

6. Next is Eyedropper, if you have done the above procedure then you have to select back paths for applying Eyedropper. A tool called Eyedropper tool is there, with that you need to click on the front paths for copying the gradient fill.

7.Next is darkening the object. For that, you need to go to Gradient palette with the back paths selected. Then darken it by adjusting the gradient color.

8. If you have done all the above procedure a 3D Logo will be created. You can create 3D objects of any shape, text etc with this technique.

Total 5 functions need to perform for creating a 3D object. Here are they
- Apply 3D Extrude & Bevel effect.
- Expand object.
- Ungroup object.
- Apply gradient Eyedropper gradient fill.
Stuff
- » Home
- » About us
- » Portfolios
- » Tutorials
- » Testimonials
- » Contact
- » T&C
- » Sitemap


