
Illuminating Transparency with Vector Rays
Pick the Polygon Tool (in the Rectangle Tool) and draw a triangle – click-and-drag, then press the Down arrow to reduce the number of sides. Also hold the SHIFT key to place it into an orthogonal position. Set fill and no Stroke. Using the Selection Tool (V), rotate it 90 degrees clockwise.
Set its dimensions as below.
Choose the triangle. Now, grab the Rotate Tool (R), hold ALT key and click the anchor point where you have the smallest angle (marked in the image below).
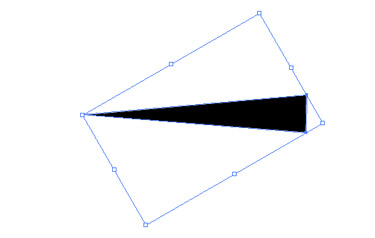
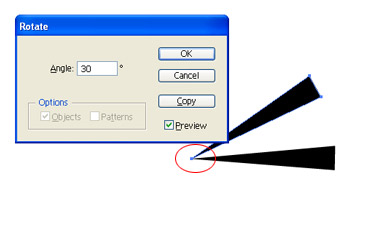
In popup window, set the angle to 30 degrees and click “Copy”. Now press CTRL+D (duplicate command) 10 times. It should look like below.
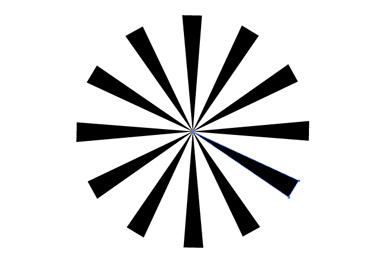
Choose all rays using the Selection Tool (V). Pick the Twirl Tool (under the Warp Tool), press Enter and use the settings given below. Centre your mouse cursor over the shape and click once.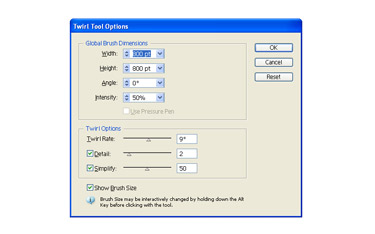

Choose all rays, then copy (CTRL+C) and paste them to front (CTRL+F). Using the Rotate Tool, rotate them 15 degrees – hold ALT and click the centre of the rays. Then set the Angle to 15. Hit OK. Select all rays and navigate to Object > Group (CTRL+G). Change the colour.
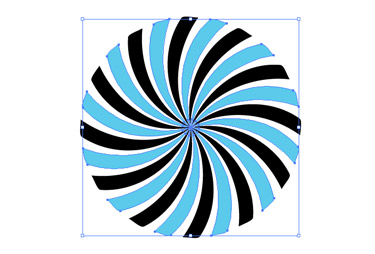
Pick the Rectangle Tool (M) and click on the canvas. Set both Width and Height to 600 px. Hit OK. Also give it a blue colour and make sure it has no Stroke.
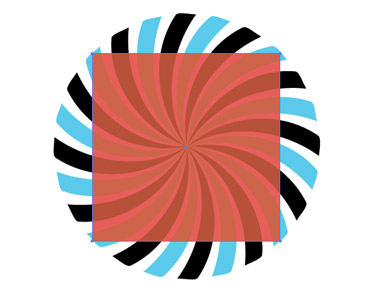
Choose only the rectangle and navigate to Object > Arrange > Send to back (CTRL+SHIFT+[ ). Place the square over the rays, select all and using the alignment tools (top side of your screen), hit the “Horizontal Align Centre”.
Click the “Vertical Align Centre” button. Along with STEP 8, this will create a perfect alignment.
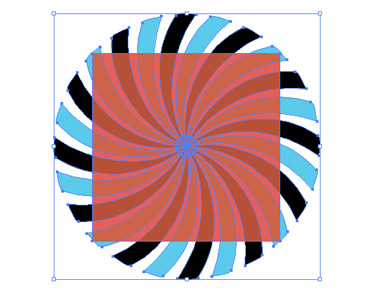
Choose only the square, copy it (CTRL+C) and paste it to front (CTRL+F). Now open Object > Arrange > Bring to front (CTRL+SHIFT+] ). Remove its fill.
Select all and open the Pathfinder window (Window > Pathfinder). Click the “Crop” button.
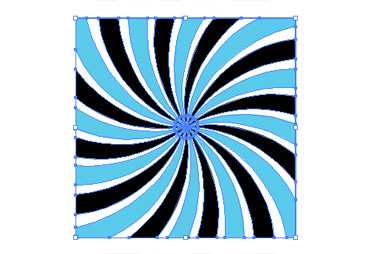
Open Path > Clean Up to remove the un-necessary anchor points.
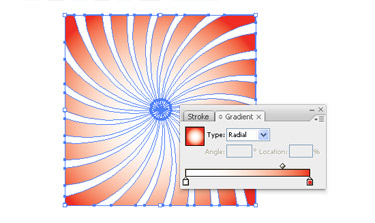
Choose all the artwork and navigate to Gradient window (Window > Gradient). Add gradients to the square, black rays and red rays with the settings below.
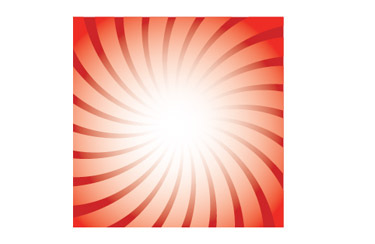
Choose it and resize it to fit in the page while holding SHIFT key to constrain its proportions.
And you’re done.
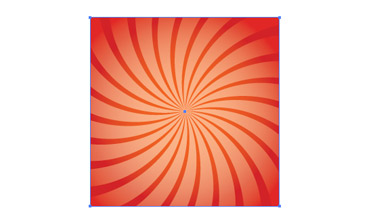
You can add different motifs, stars, circles, shapes and use the same technique to make them pop up. A fast, but not so precise method is to lighten the colours: click the “Recolor Artwork”, click the “Edit” button, then toggle the “Lock harmony colours” (broken chain icon) and move the slider a bit to the right.
Stuff
- » Home
- » About us
- » Portfolios
- » Tutorials
- » Testimonials
- » Contact
- » T&C
- » Sitemap


